
Quickly Solve Two Frequent Trampoline Assembly Problems
Trampoline assembly problems are very common among beginners. Though most trampolines provide manual assembly guidance, yet still, there are lots of people feeling confused. They tend to encounter some problems even if they are following the manual.
Before assembling the trampoline, it’s vital to know the assembly process. But it’s also important to be clear about the regular assembly problems. Being aware of what to do and what not to do is gonna save your time.
This article is going to present the most frequently asked questions, let’s go check out.
Is it hard to assemble a trampoline
It’s not so hard, actually. But different people might be caught up in different situations.
As we have said before, the manual is fulfilled by very comprehensive details, which somehow, may not clearly and visually show you how to do it.
Most trampolines are designed for and with an easy-assembly vision, however, it’s still possible to get confused or misunderstood in a way during the installation.
How to assemble a trampoline frame
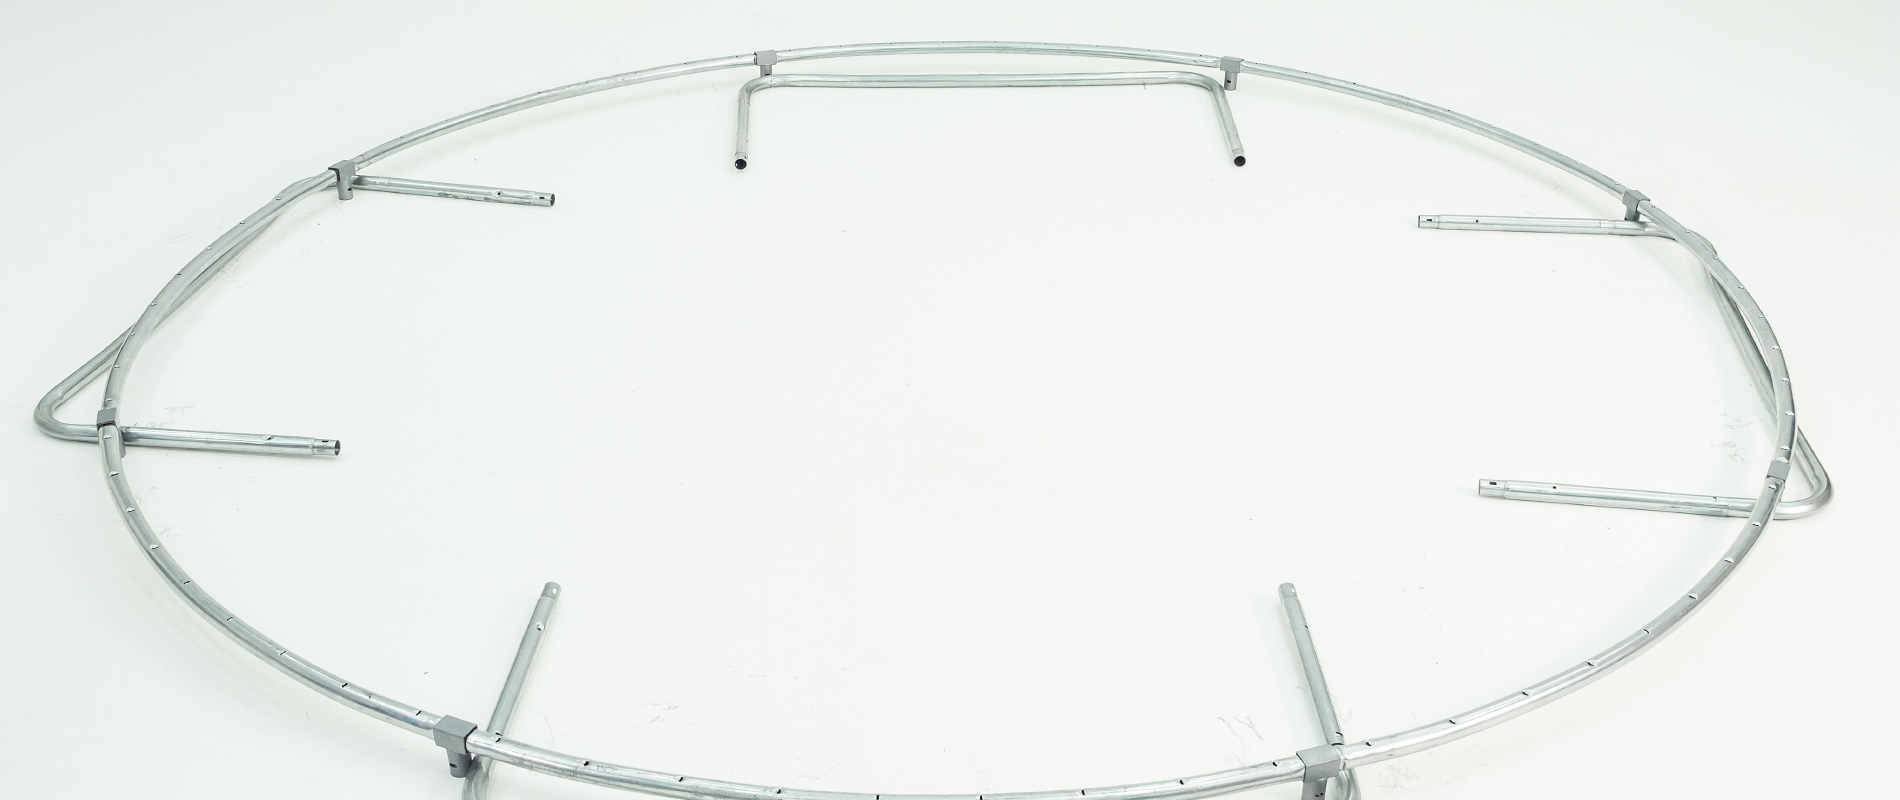
When you finish the trampoline frame, it’s in a round shape of a circle. During this process, one partner or two can be very helpful.
First of all, you need to put all of the curved tubes on the ground to form a circle. Then use T-connectors to connect all of them. Please notice that the end pieces of T-connectors should be facing the ground, not the sky.
Ask one or two partners to hold the circle up simultaneously and connect the steel legs with T-connectors. Push down the circle after connecting so the frame is firm and tight.
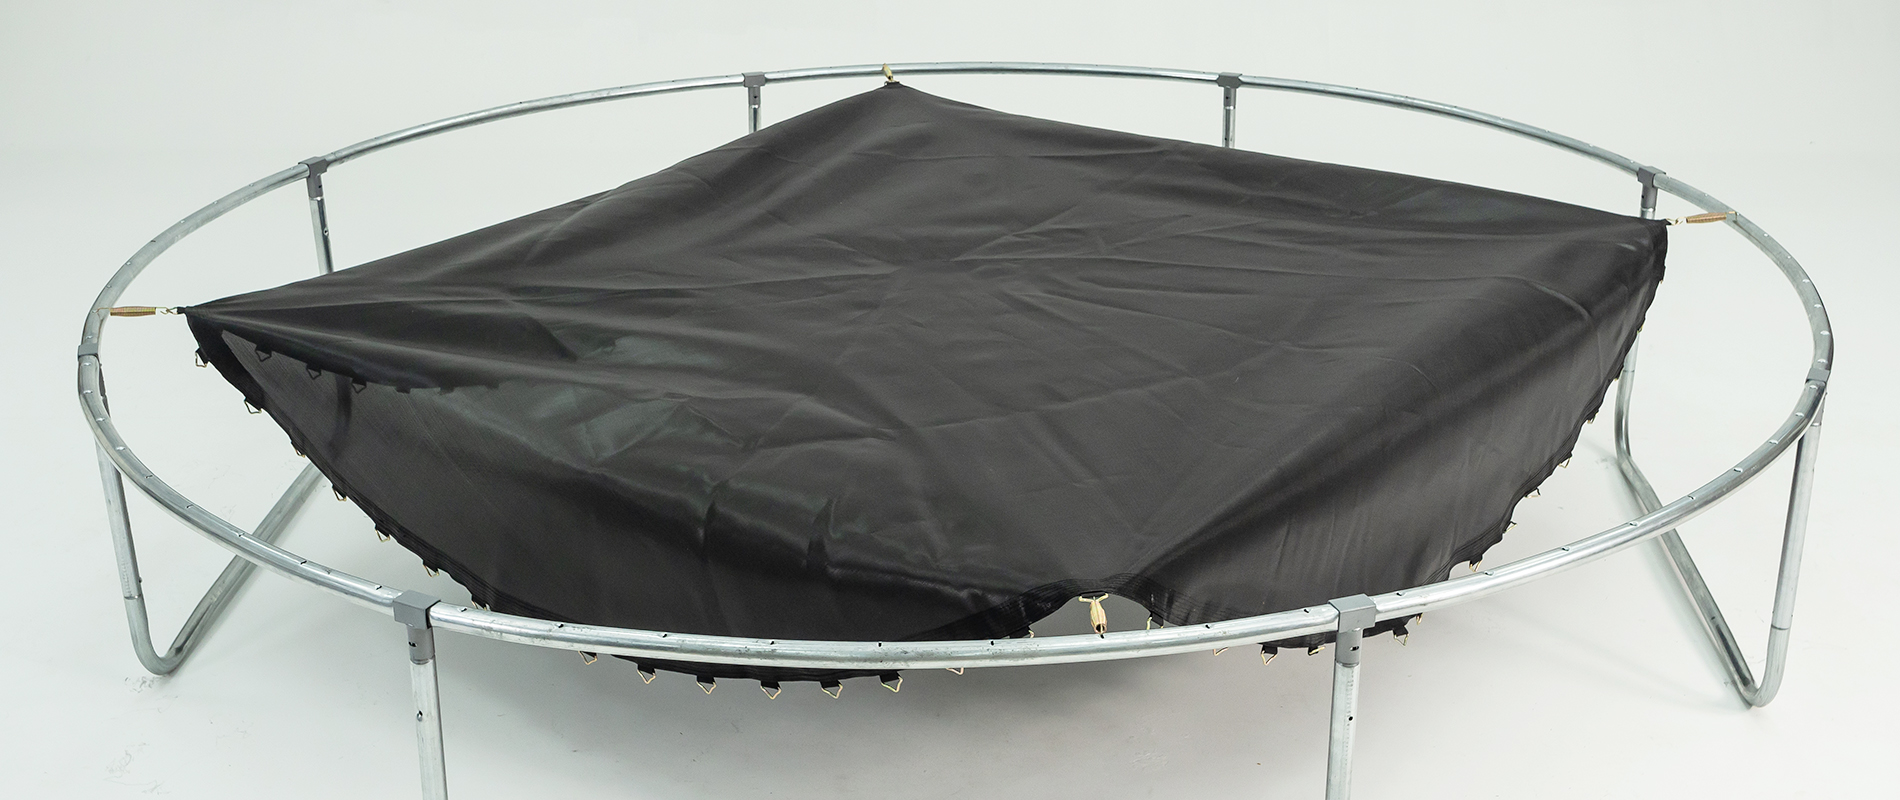
Trampoline mat and springs assembly problems
Why is my jumping mat upside down? and why the attachment of springs becomes harder and harder in the end? you might ask. These are the problems many people meet, and we can tell what caused this just in one second.
For the jumping mat, as a matter of fact, it’s fine to use although it’s upside down. The front and back are almost the same, apart from the only difference of logo printing on the front. If you still care, you just remember to put the side with a logo on the front, then you won’t make it wrong.
Regarding the springs, if you hook every spring one by one, then it is almost impossible to connect in the end. Or at least you will be exhausted to hook them all.
Back to our assembly article, we have emphasized that springs should start at four right angles(north, south, west, and east). Hook four V-rings firstly, then connect one spring in the middle at four splitted zones respectively. As long as this is done, the jumping mat is properly expanded. After that, complete all of the rest springs. It will be so much easier than hooking one by one.
Hope this article can quickly solve your trampoline assembly problems.


