
How to Disassemble A Trampoline Smoothly
It’s not hard to disassemble a trampoline, but many articles only mentioned the assembly of a trampoline. In fact, there are not so many blogs introducing the process of disassembly because it usually looks messier than the assembly.
How long does it take to disassemble a trampoline?
Well, it can not be accurately told, but it is definitely shorter than the setup process. Actually, with the cooperation of another partner, it’s way shorter than that, like around 30 minutes, you can get it done.
How to take apart a trampoline? You do not have to pay for the trampoline disassembly service. This acticle is going to present the whole detailed disassembly of a trampoline.
Decompose the trampoline disassembly.
Starting with the trampoline enclosure parts
Unlike the assembly of a trampoline, disassembly should go with the enclosure net firstly, not the steel frame.
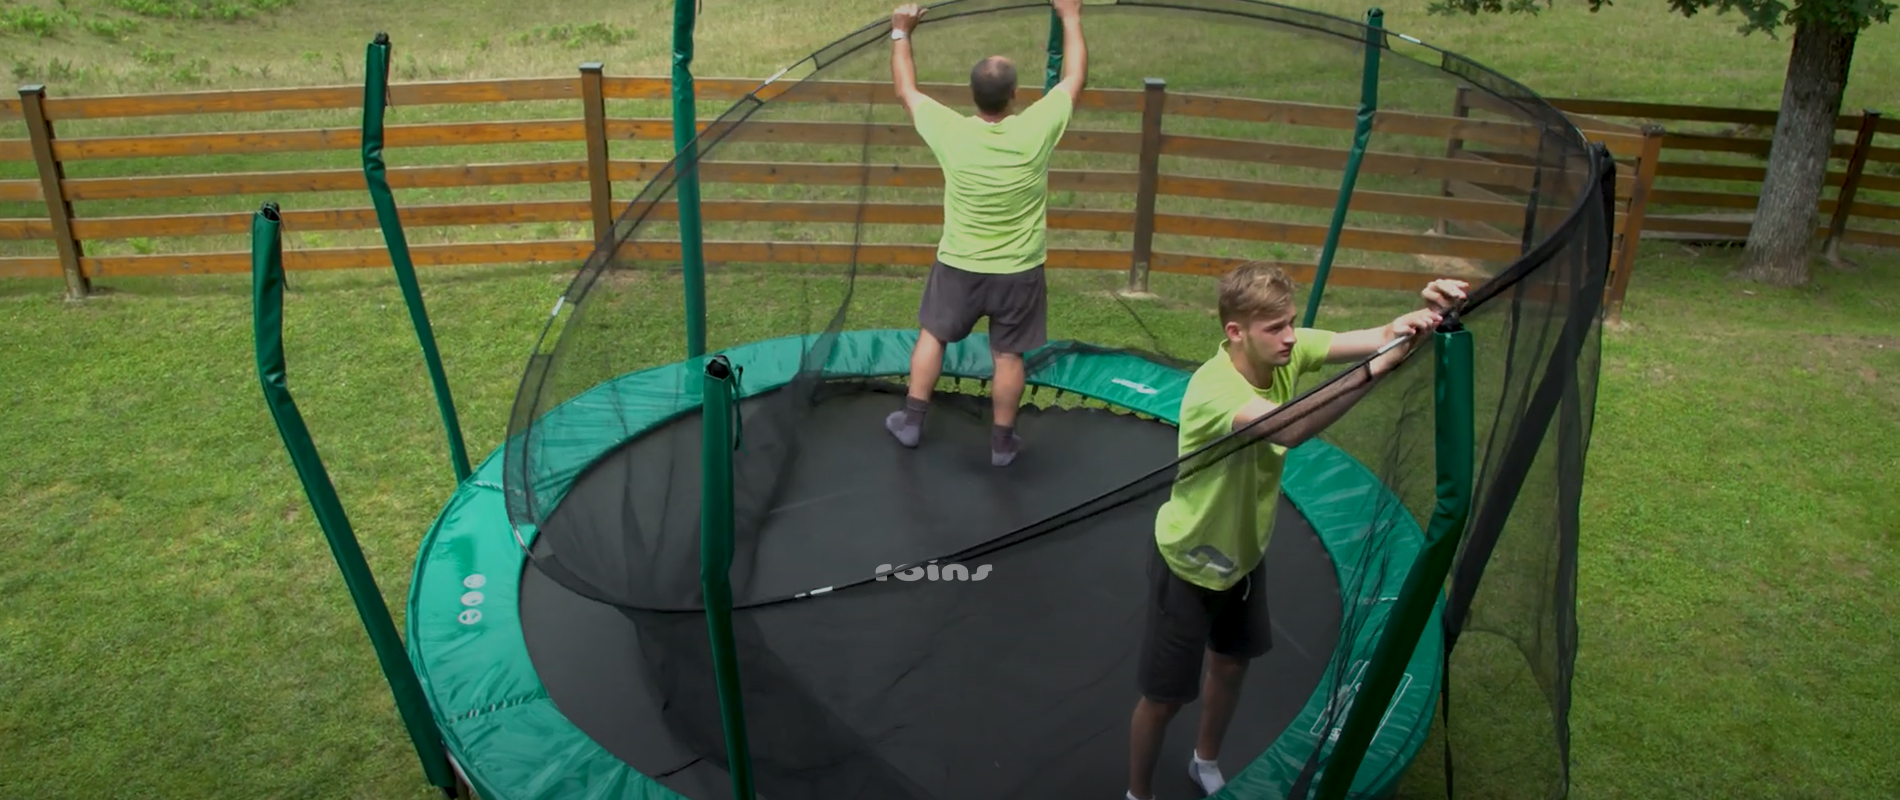
First of all, pull the sleeves on the enclosure net a little bit right up the connecting caps. Then uncap the poles one by one. Please keep in mind it’s important to ask for a partner or friend to help you with this. Otherwise, you might get hurt by accident. These poles would go down if no one is holding for you.
After uncapping, you just need to disconnect the upper part of the poles with the bottom counterparts. The upper parts of poles are sticking with the enclosure net for this moment, please do not hurry to pull poles out. It’s time to lay all of them on the jumping mat, and then you can proceed to the next step.
Proceeding with trampoline poles and net.
For this part, you need to use tools to unscrew the bolts and fittings one by one and detach all of those bottom poles. Then put them aside, and do not hurry to pack them in the package box.
Now that the upper poles and the enclosure net are laying on the jumping mat now, and the bottom poles are properly settled down. Let’s go to separate all of the upper poles from the sleeves.
During this process, it might take some time to do that. It’s not about the poles, the poles can be easily slid out, it’s just the foams. The friction between the sleeves and pole-foams is a bit big, and sometimes, you need to shake it off. Yeah, it may sound funny, but this is the fastest way to this issue.
After the overall separation, you just need to put all of the poles in the previous place that you temporarily store your upper poles. You might need another partner or friend to help you fold the enclosure net. Two persons, holding four angles, are enough for this. It will be quick to fold this, and you just need to put it aside for a moment.
Remove trampoline springs
Use the springs tool(usually a hook) to disconnect with the steel frame. But when all of the springs are steadily hooking the steel circle, the jumping mat and springs are actually very tight. You need to pay attention not to get hurt when unhooking the springs. Use the tool to hook the end of springs, which connects with the steel circle, heavily pull towards your body so the spring will be detached. At this time, unlike the assembly, it’s not necessary to start with four upright angles(east, west, south and north). Unhook them one by one, and put all of the springs in an isolated box.
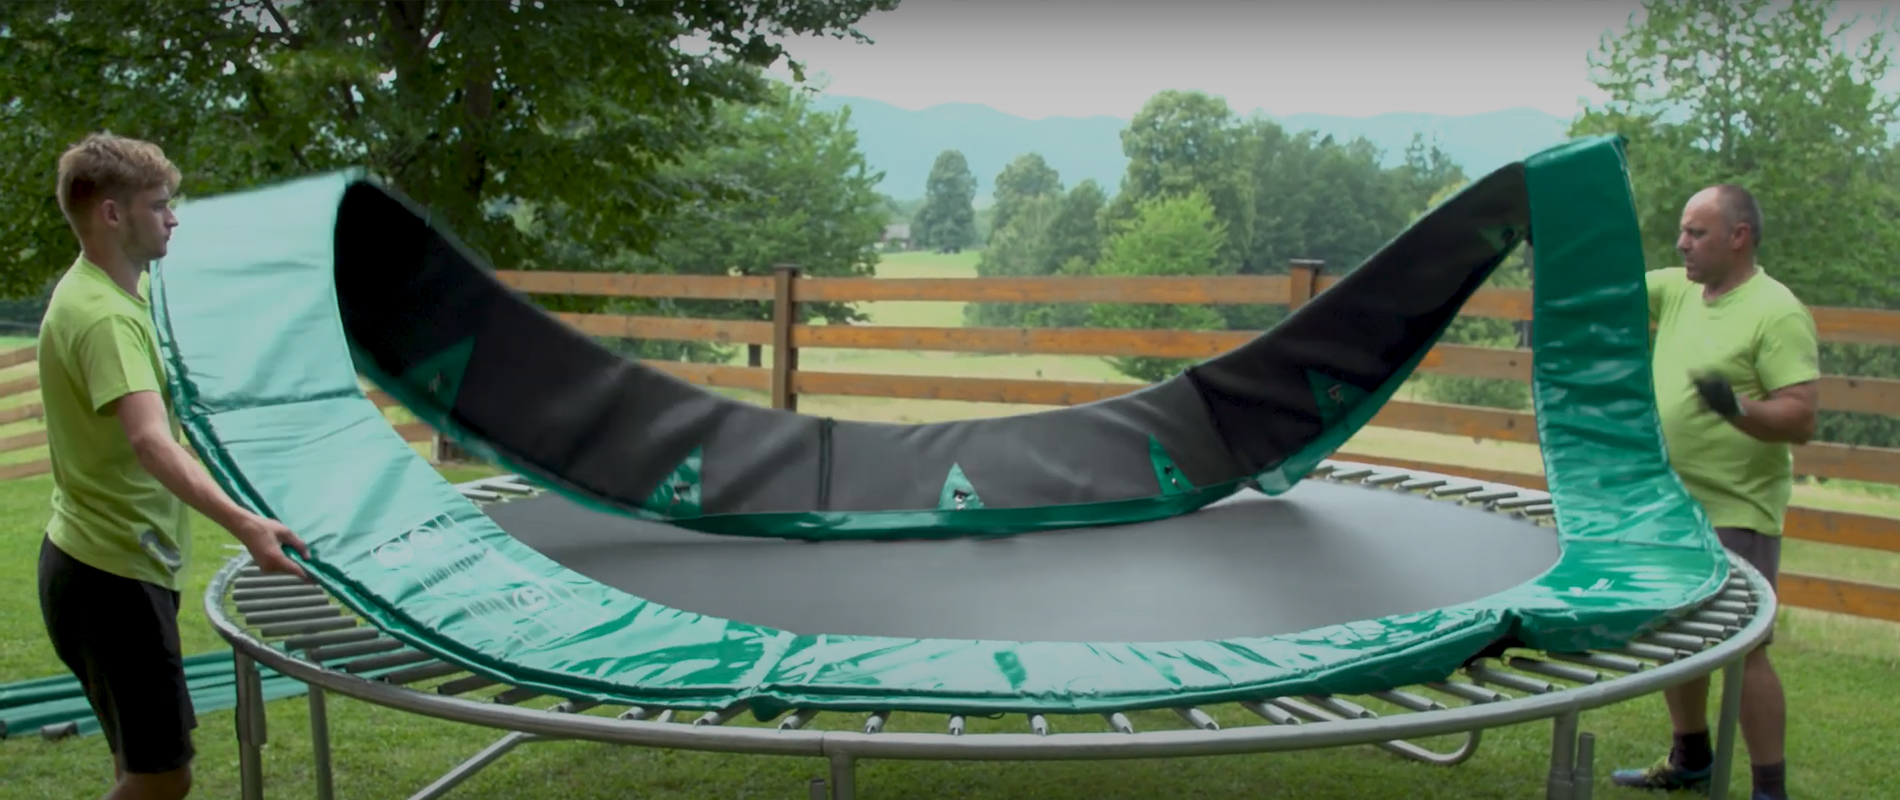
Same procedures for folding the jumping mat like the previous process for the enclosure net, and you might need one partner to accompany you. But the shape of the jumping mat is round, so you only need to fold by starting with any point of the jumping mat, and fold to the opposite point. Then repeat this process, until the size can be put into the package box, but do not pack it in the box.
Take trampoline frame parts apart
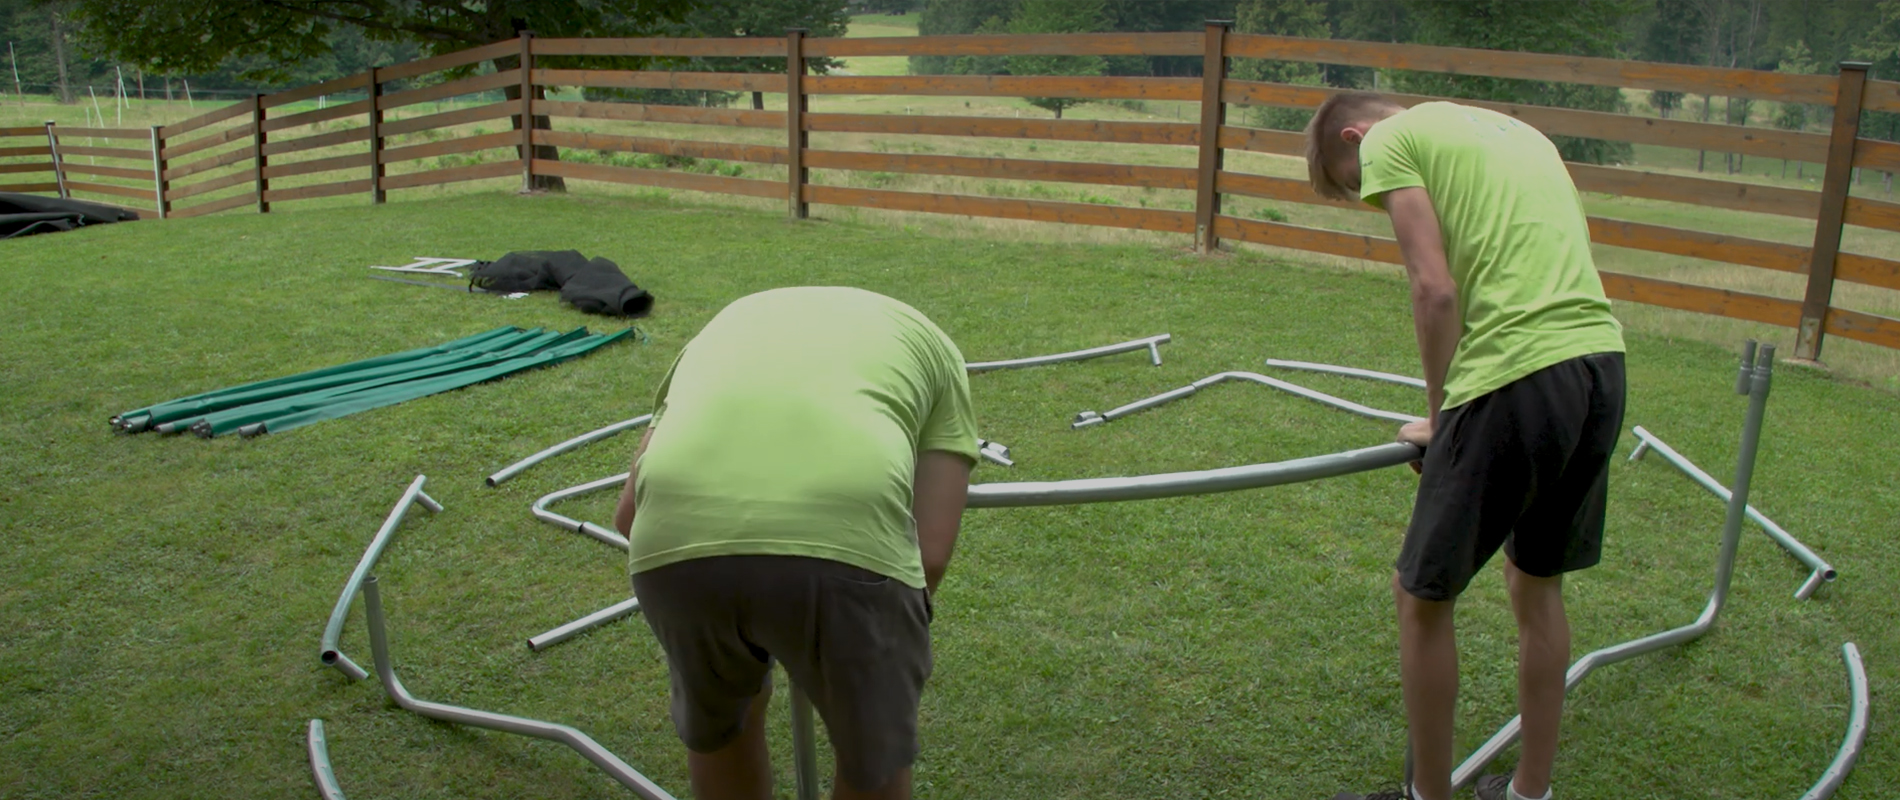
To proceed with this part, you might need at least two people involved. For big trampolines, you could even use three people. All the fellas need to hold up the steel circle simultaneously and detach the W-shaped legs with the T-connectors, and lay the steel circle horizontally on the ground.
The next steps are really simple: detach every T-connectors with the curved steel pipes in the steel circle.
Pack all parts of a trampoline
As being said, all the parts are temporarily set aside, now you can pack them all. But please remember the order: first comes the W-shaped steel legs at the bottom, then the curved steel pipes, poles, enclosure net, and jumping mat. Unbox the package, and store it in your warehouse or other shady places.
After all has been done, this process is totally finished.


